As Salamu Alikum and hello everyone!
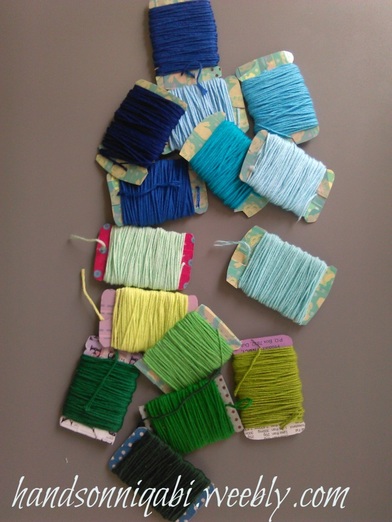
If you have read some of my craft haul posts you will know that I bought a lot of embroidery thread. Well, I didn’t really have a place to put them once I took them out of the packaging and it looked messy. So I looked up some ideas of how to keep them neat and came to the conclusion that I should just make something a DIY. I am reusing cereal boxes which you might have if you eat cereal as well as something you probably didn’t think of. So, if you want to know how I made my embroidery thread neat and tidy, read on!
If you have read some of my craft haul posts you will know that I bought a lot of embroidery thread. Well, I didn’t really have a place to put them once I took them out of the packaging and it looked messy. So I looked up some ideas of how to keep them neat and came to the conclusion that I should just make something a DIY. I am reusing cereal boxes which you might have if you eat cereal as well as something you probably didn’t think of. So, if you want to know how I made my embroidery thread neat and tidy, read on!
Before we start, I want to say sorry for going MIA last week, as I wasn’t feeling very well and I still don’t. I decided to give myself a small break from some things, but I am all up for getting back on track this week. Though I think by the way things have been going for me today, by the time this post actually gets posted, it will be past 2 P.M.
So, let me explain what I meant by ‘something you probably didn’t think of’. If you have ever stayed in a hotel and like me, taken all the things from the rooms like soaps and the shower caps etc. then you probably have taken the sewing kit. You know, the ones that are made from thin cardboard, have an assortment of colored thread with a needle and maybe even a button. Have you ever used it? I have used the white and black threads before to sew something small like a hole but I usually just throw them into a box and it gets forgotten.
I was looking through my sewing box (a reused tin cookie container) and gosh, was it messy. I wanted to sort it out and remembered I bought a clear container from Daiso a while back. But when I got it out, there was all my embroidery thread, taking all the space.
So, I took out the thread, and started sorting everything in my sewing box. I then found two of the thread holders I was talking about and thought, they look like some of the embroidery threads flat spools I saw online. I had saved a few cereal boxes (I don’t know why but it’s a good thing I did) and decided to make the same thing using the cereal. So here we are!
Materials needed:
In the making of this project I used 3 cereal boxes. I only wanted to use 2, but some of my pictures got deleted by accident so I had to use another box.
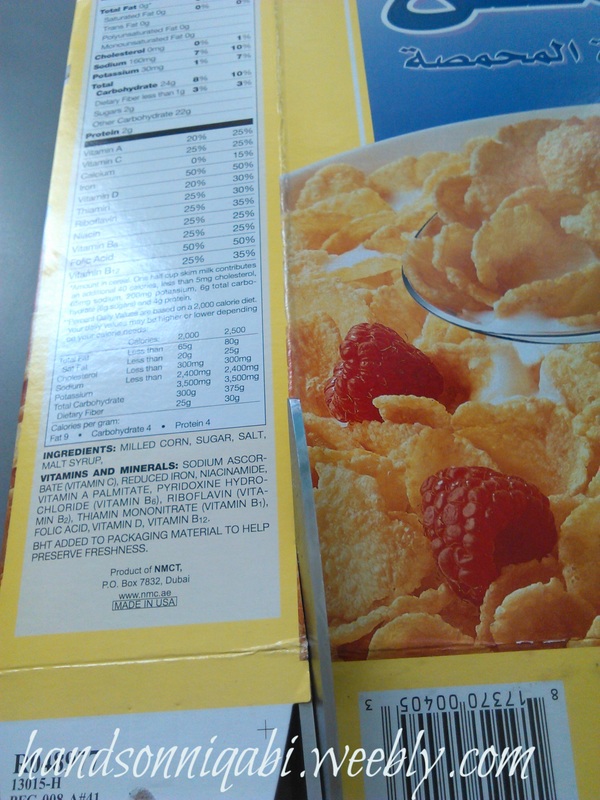
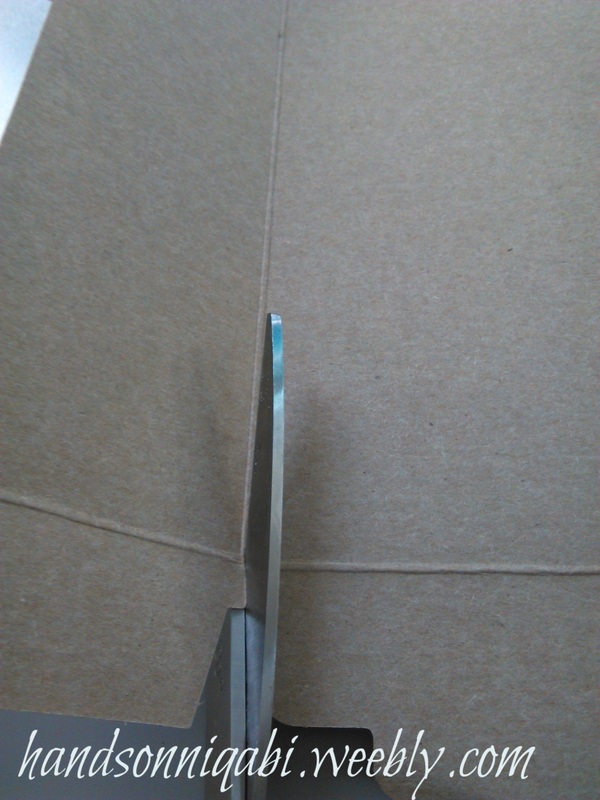
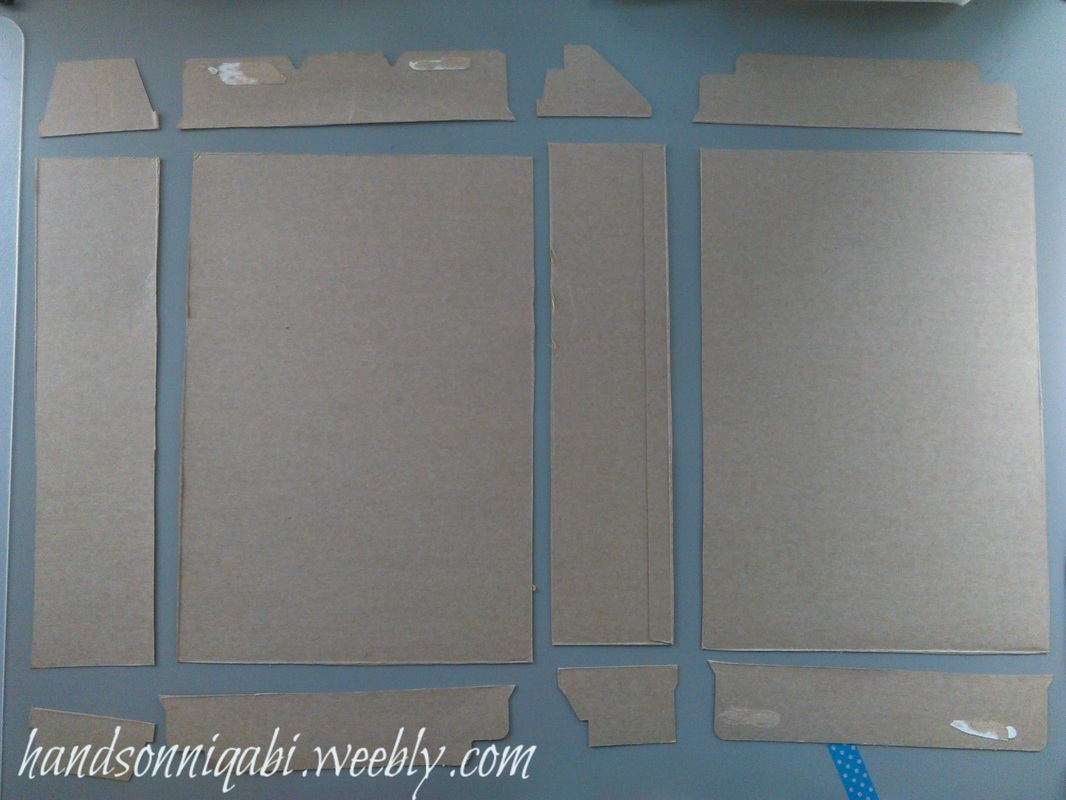
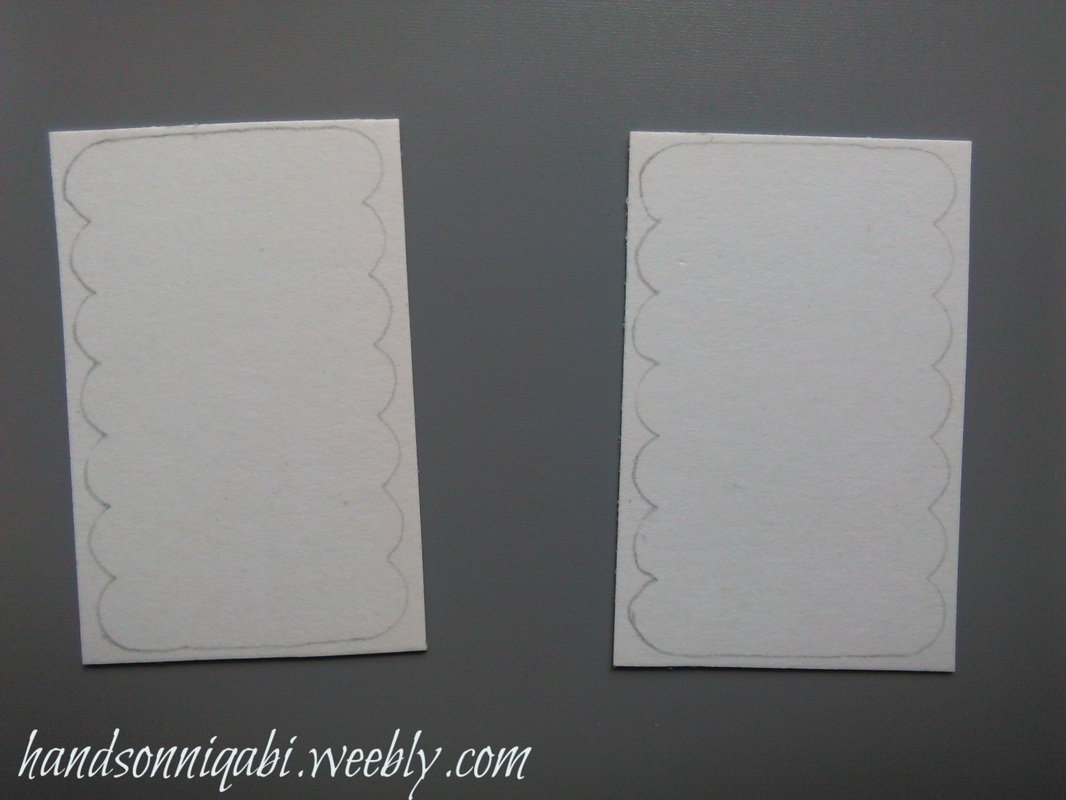
To start out, flatten out your box, then choose a side to cut on the line to open it up. Once you do that cut off all the pieces of the box as shown. Keep aside the smaller flaps if you can’t fit the stencil on it all the way. Now you trace the stencil on the cardboard pieces as many times as you can fit or as many as you need.
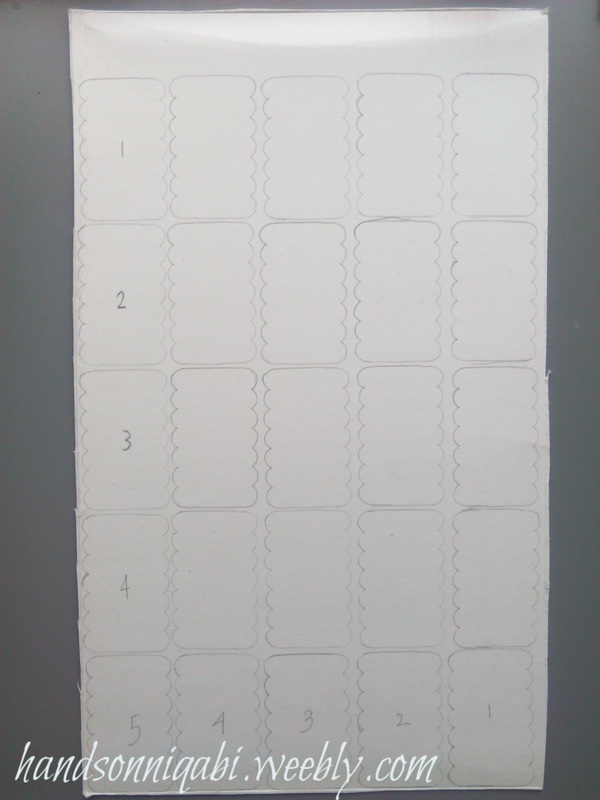
Then, as I like to do, I cut the pieces into squares first then I cut out the outline. Then, you are done! I just realized I don’t have a picture of the plain spools, so sorry about that. If you want to see how I cover the spools with washi tape keep reading!
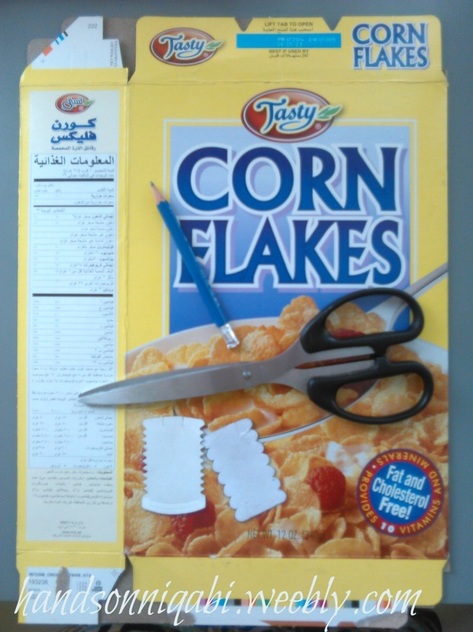
- Cereal box or any dry food’s box- it depends on how much thread you have, but have 2 just in case.
- Thread holder from hotel sewing kit- This is going to be your stencil
- Scissors
- Pencil
- Optional: Washi tape
In the making of this project I used 3 cereal boxes. I only wanted to use 2, but some of my pictures got deleted by accident so I had to use another box.
To start out, flatten out your box, then choose a side to cut on the line to open it up. Once you do that cut off all the pieces of the box as shown. Keep aside the smaller flaps if you can’t fit the stencil on it all the way. Now you trace the stencil on the cardboard pieces as many times as you can fit or as many as you need.
Then, as I like to do, I cut the pieces into squares first then I cut out the outline. Then, you are done! I just realized I don’t have a picture of the plain spools, so sorry about that. If you want to see how I cover the spools with washi tape keep reading!


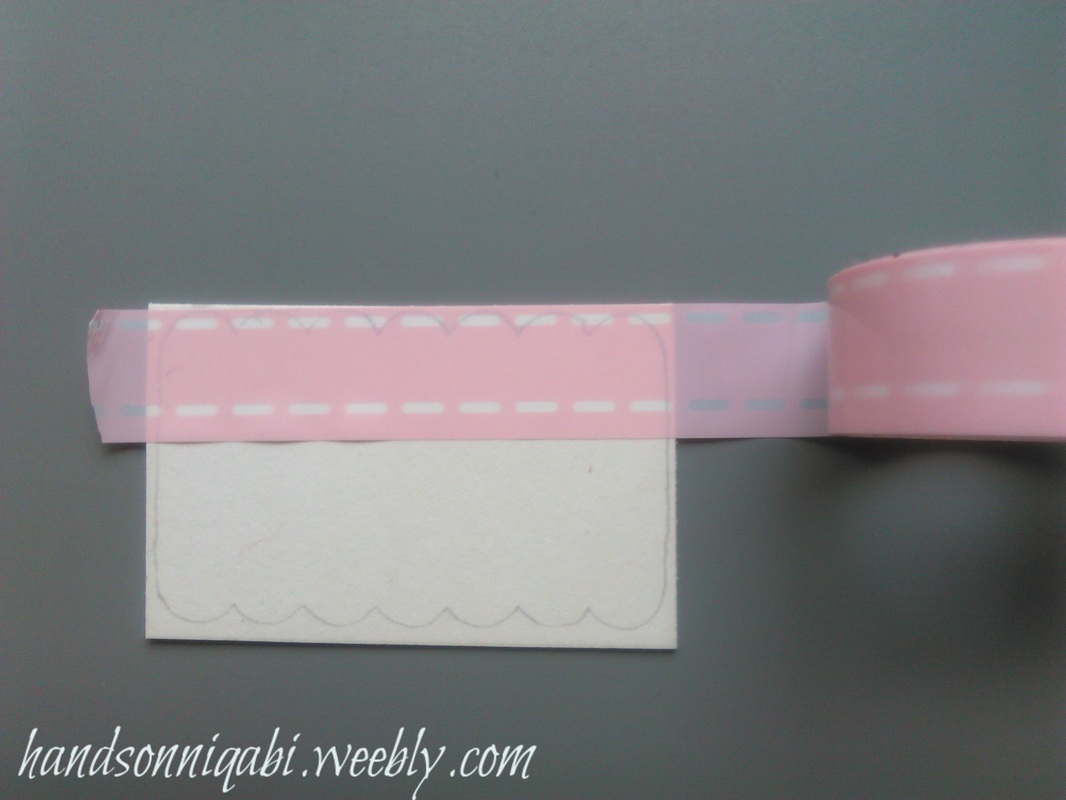
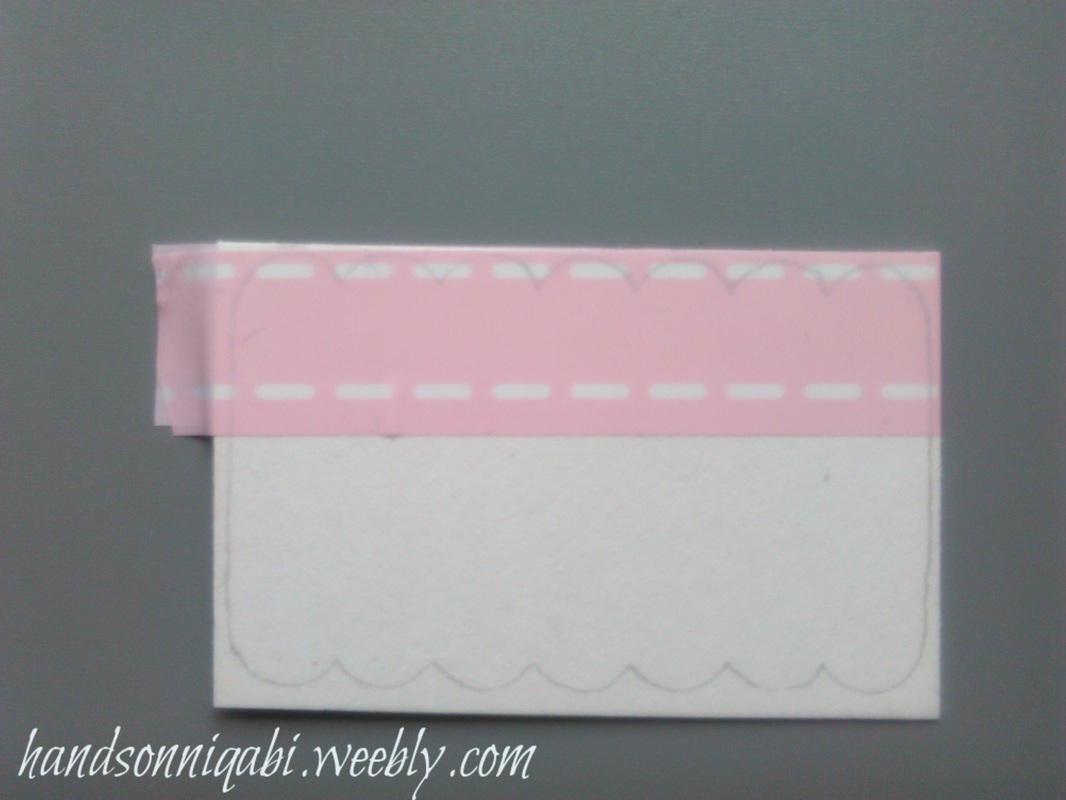
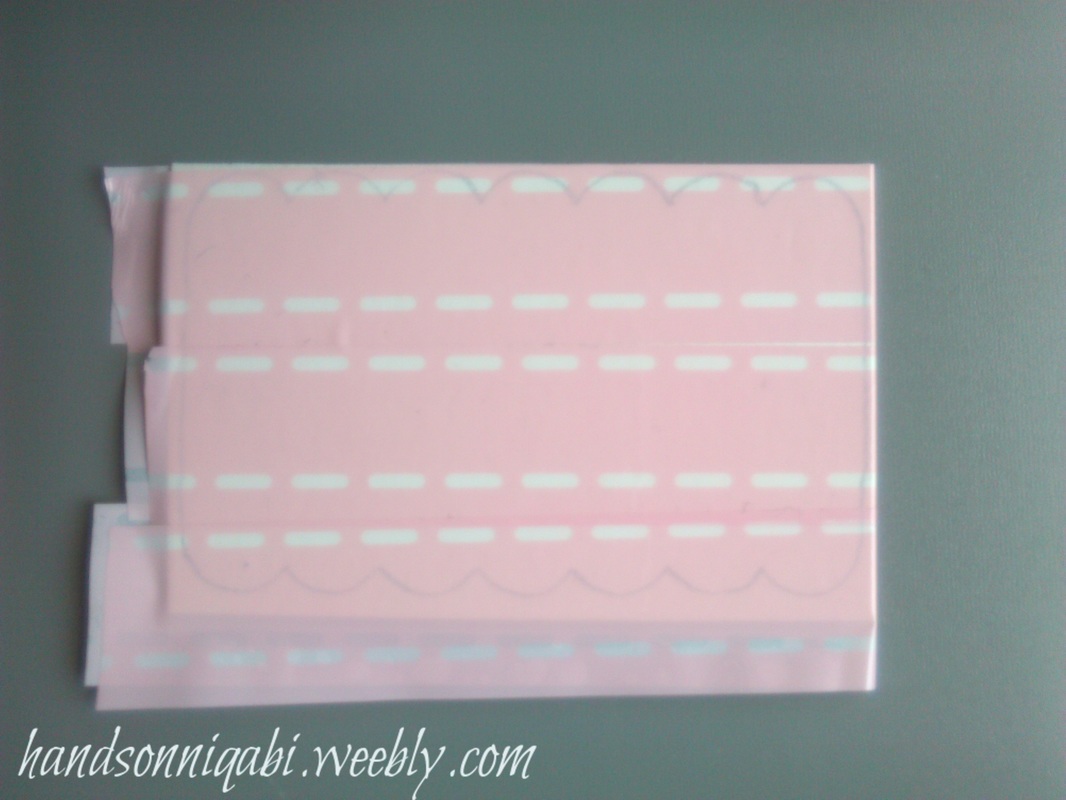
I have two ways of doing it: the first way is for multiple spools and the second is for individual spools.
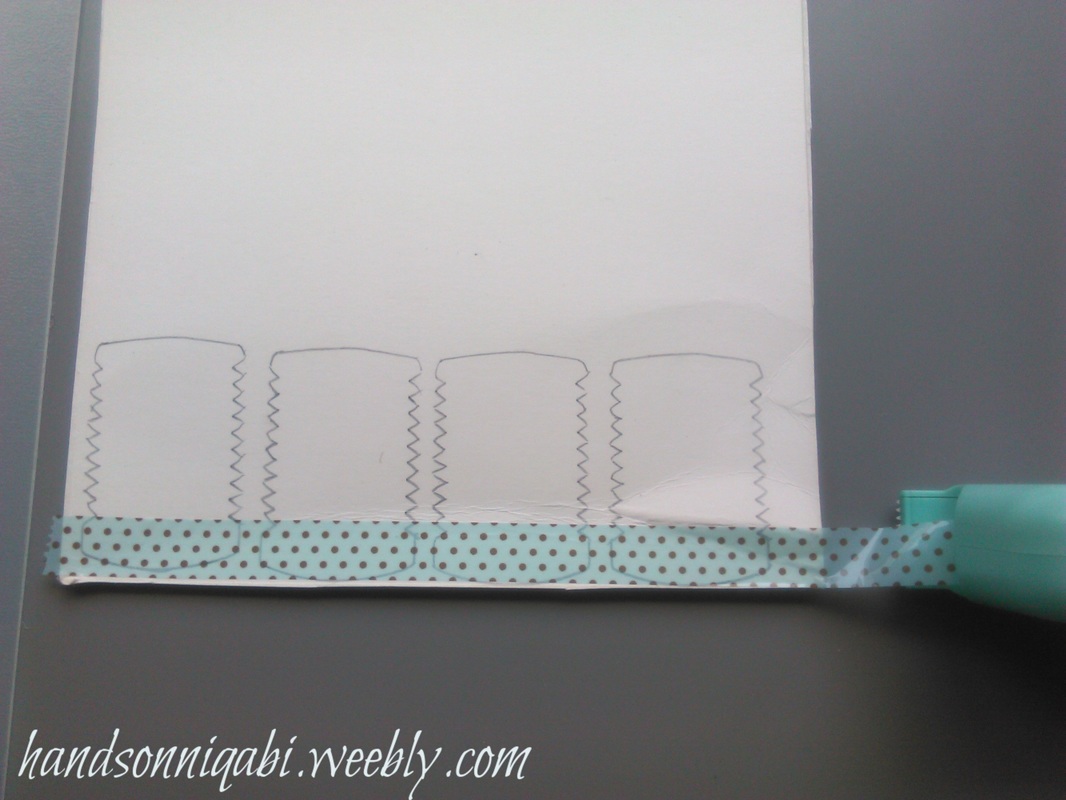
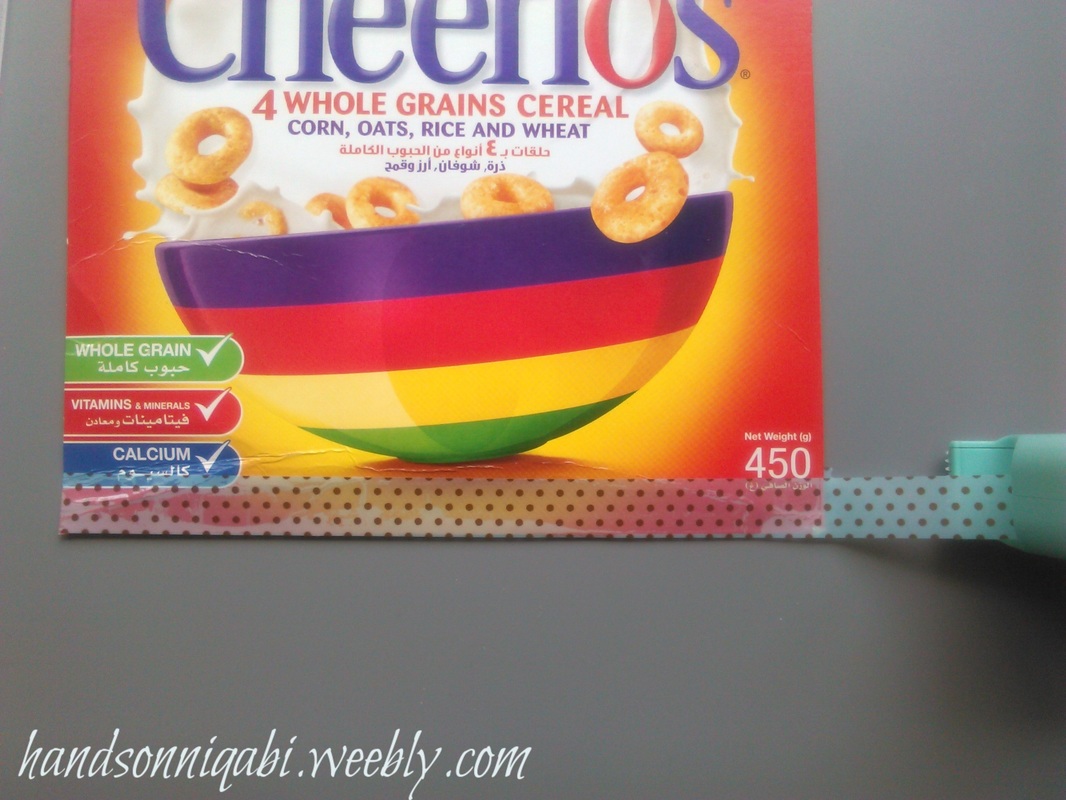
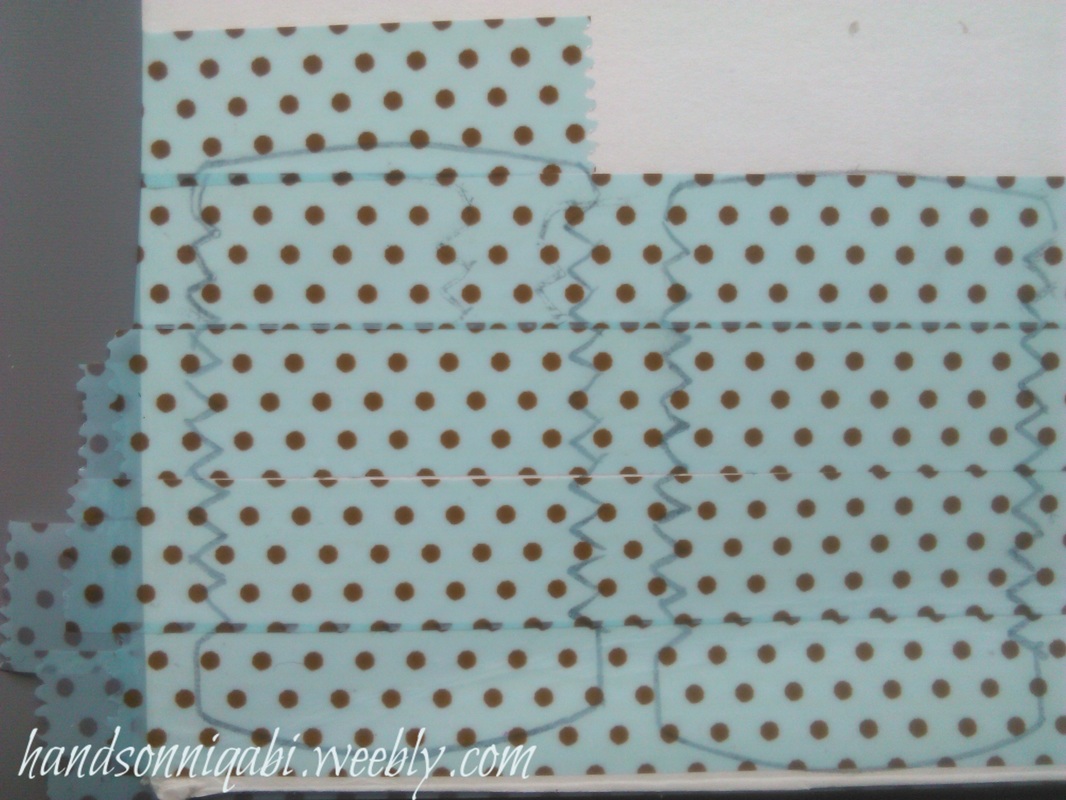
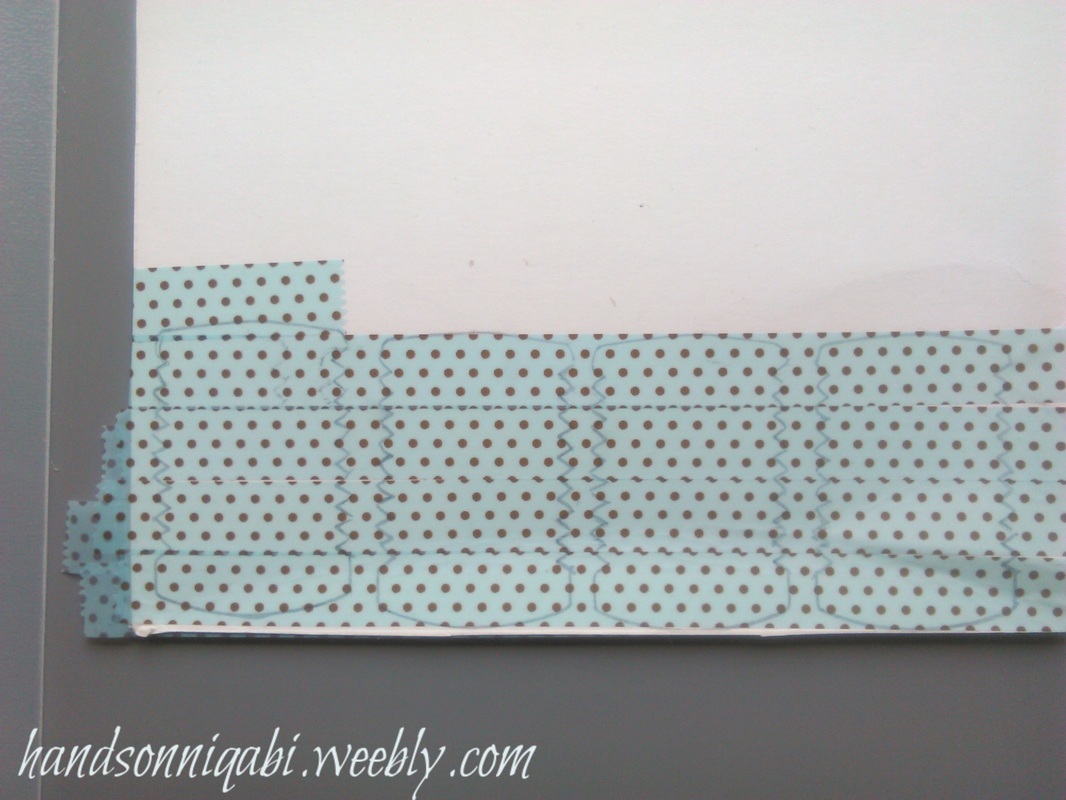
Method 1: Take a long strip of tape and place it as straight and neat as you can on the front (inside white) and without cutting it off, just wrap it around to the back (colorful side) and do the same till the end and then cut it off. Keep doing that until you get to the top of the outline of the spool, or until you reach the top of the cardboard if you went all the way up. Then cut the spools out and there you go!
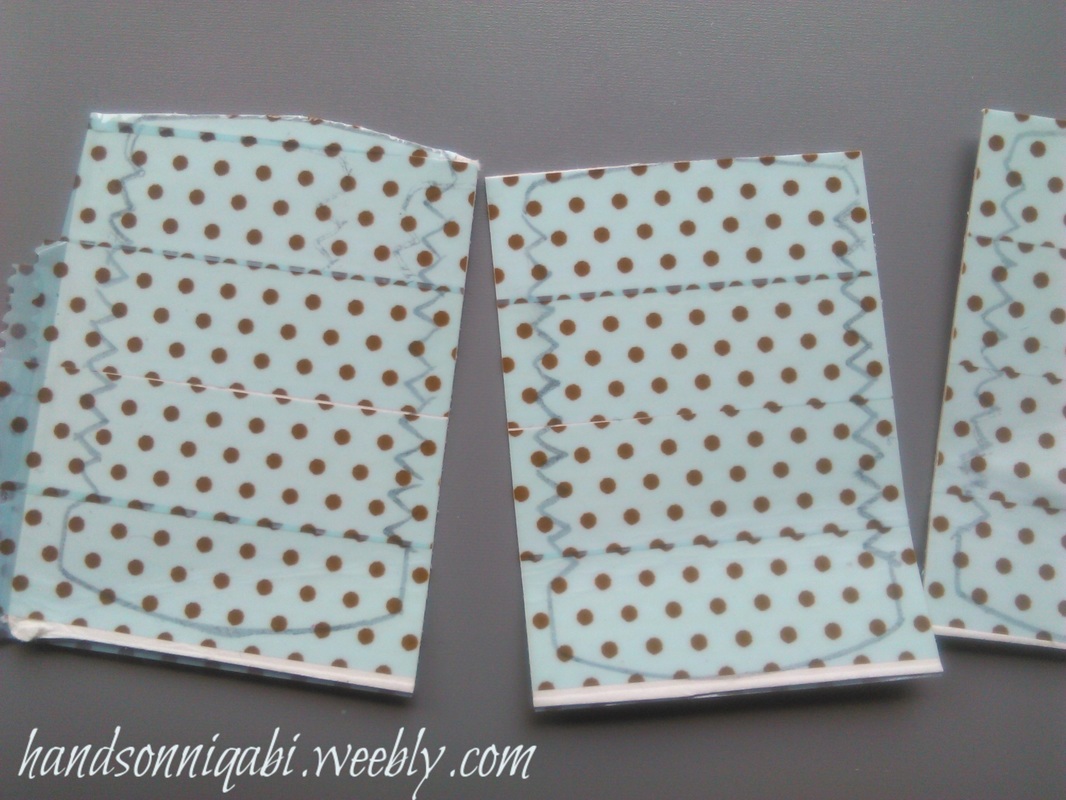
Method 2: You are going to need a square cut out spool, and you basically do the same as Method 1. Place the tape as straight and neat as you can and without cutting it, wrap around the edge and keep going to the end and cut. Keep adding tape to the square until the top (or bottom) and then cut out the spool from the outline.
Method 1: Take a long strip of tape and place it as straight and neat as you can on the front (inside white) and without cutting it off, just wrap it around to the back (colorful side) and do the same till the end and then cut it off. Keep doing that until you get to the top of the outline of the spool, or until you reach the top of the cardboard if you went all the way up. Then cut the spools out and there you go!
Method 2: You are going to need a square cut out spool, and you basically do the same as Method 1. Place the tape as straight and neat as you can and without cutting it, wrap around the edge and keep going to the end and cut. Keep adding tape to the square until the top (or bottom) and then cut out the spool from the outline.

I hope this was a useful project and that it was understandable. I am sure there are other ones similar to what I made, but I hope you like mine! If you made this do tell me, and if you have a blog send me your link so I can see!
 RSS Feed
