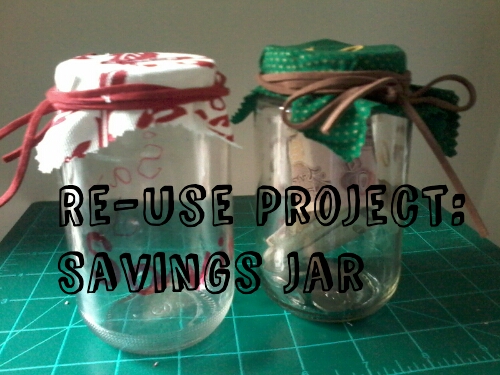
As salamu alikum and hello! Today I have here you another tutorial! This project reuses items that can be found around the house, and for no cost at all! Who doesn't like something free?
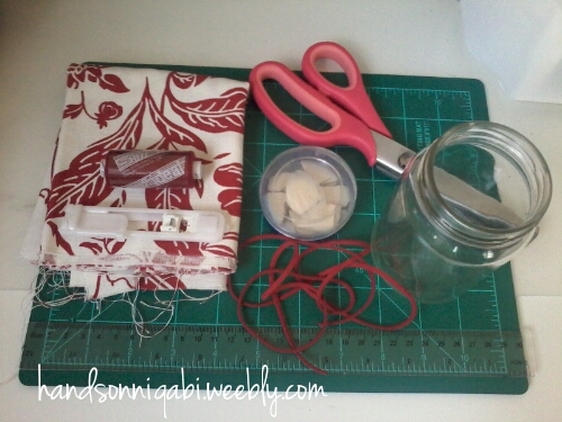
For this project, the materials you need are:
*Start out with a clean jar. You can soak it with some water and soap. To get the sticker off, I put the jar (with the water inside) in a bowl that the rim was higher than the jar with some water. After a while, it should be easy to scrape off the sticker.*
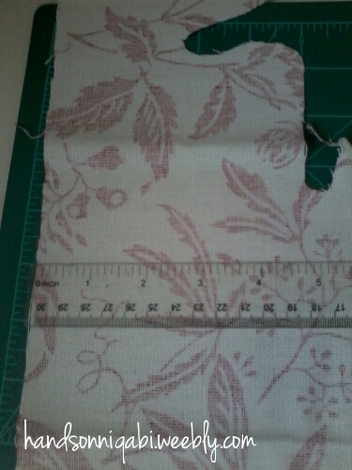
Step 1- Measure the opening of the jar. Once you have the measurement, you can decide how much fabric you want to have hanging over the sides. For me, my jar measured almost two and a half inches, so I added 1 ½ inches for the fabric which is 4 inches.
- Scrap of fabric
- Coordinating thread
- Jar- Use a jar that had sauce in it, like pasta sauce
- Ruler
- Scissors- I used pinking sheers
- Fabric chalk, pencil, or marker
- String
- Button foot
- Seam ripper
- Glue (optional, but recommended)
- Permanent marker(s) (optional)
*Start out with a clean jar. You can soak it with some water and soap. To get the sticker off, I put the jar (with the water inside) in a bowl that the rim was higher than the jar with some water. After a while, it should be easy to scrape off the sticker.*
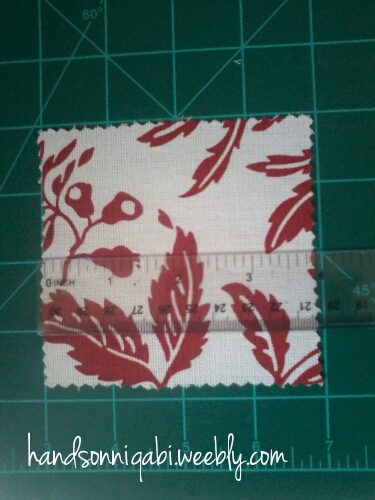
Step 1- Measure the opening of the jar. Once you have the measurement, you can decide how much fabric you want to have hanging over the sides. For me, my jar measured almost two and a half inches, so I added 1 ½ inches for the fabric which is 4 inches.
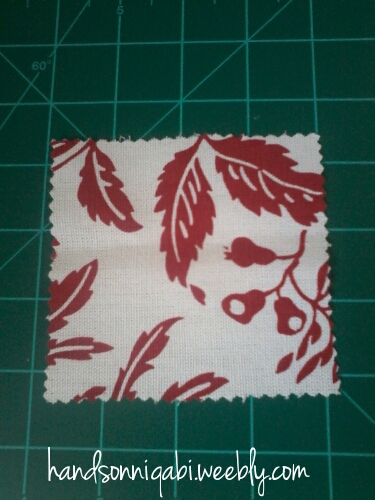
Step 2- Measure and cut the fabric. I measured the fabric 4 inches by 4 inches and cut it with pinking sheers because I liked the effect it makes on fabric, and it doesn’t unravel as easily if you used regular sheers.
 |  |
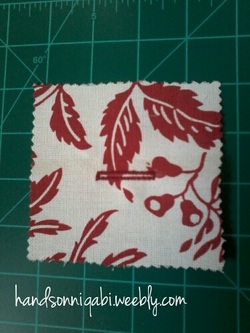
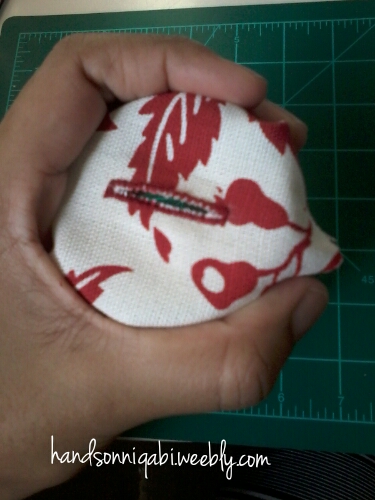
Step 3- Measure the spot for the button hole and make the button hole. I used a button foot for this project since I have it, but if you don’t have a button foot, then there are lots of tutorials that show you how to do it, but the video by Create Kids Couture is one of the tutorials I thought was very helpful. I tried to make the hole as centered as possible and made it be about an inch and a half long.
Once you’ve made the button hole, you need to open it. To do that, you open it with the seam ripper.
Once you’ve made the button hole, you need to open it. To do that, you open it with the seam ripper.
 |  |
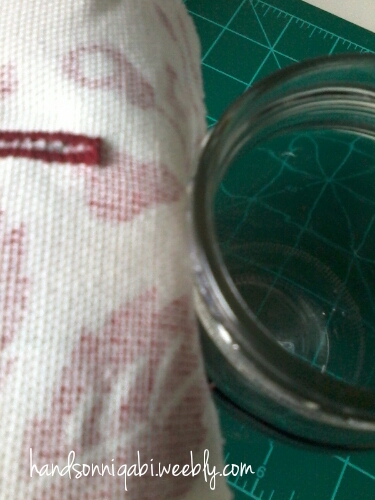
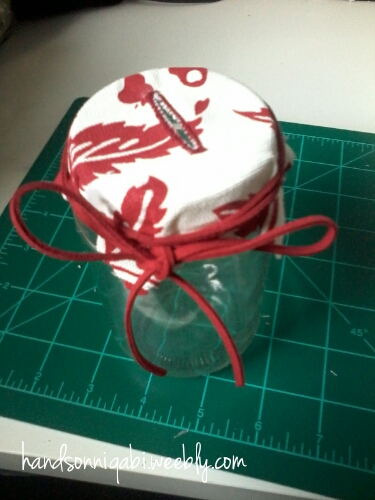
Step 4- Time to put the fabric on the jar. If you are using glue, which is recommended since it makes a more uniformed looking jar, then make sure that it works with multiple materials. I used a hot glue gun, but any glue should be fine. Take it one small section at a time. As you are going around, you should pinch some parts so that it can be as even as possible. Once the glue is dried, then you can tie the string on it.
 |  |
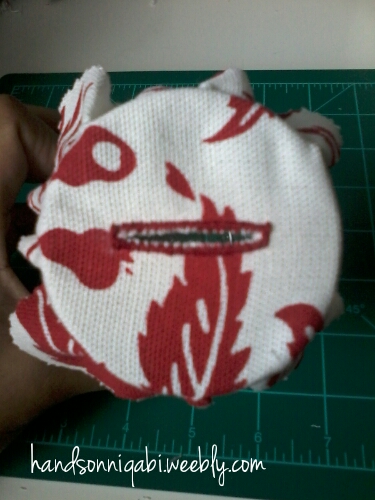
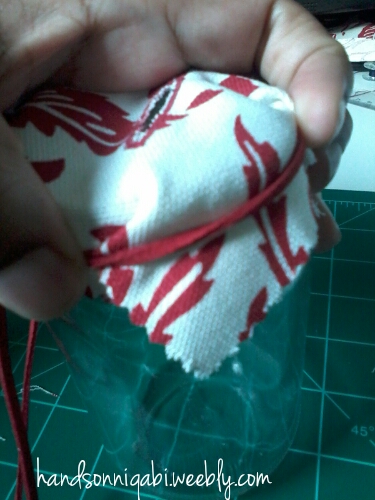
If you aren’t using glue, then you should spread the fabric across the opening with your hands, and holding the fabric down with one hand, place the string between your fingers to start wrapping around the jar. When you can wrap it around at least once to keep the fabric down, then if there is more length left, wrap it around a few times to secure it, and tie a bow.
 |  |
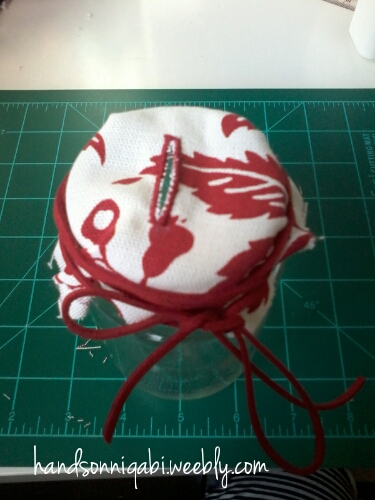 |  |
The above two photos are showing the differences in how the jar is completed. The jar on the left doesn't have glue keeping the fabric down. The jar on the right does.
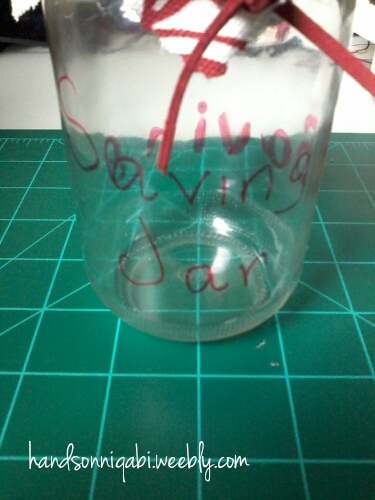
If using a permanent marker- you can decorate however you like with the marker/s. On the jar used for this tutorial, I wrote ‘Savings Jar’ on two sides.
If using a permanent marker- you can decorate however you like with the marker/s. On the jar used for this tutorial, I wrote ‘Savings Jar’ on two sides.
I hope you like this project, and you start saving your money!
 RSS Feed
